Wednesday 25 July 2012

Enter Stormtalon and some troopers

The fluff of Red Talons cries for a flyer. Before I was thinking including Stormraven from Blood Angels list although it might have been against the official rules (5th edition), but it would have fit in the fluff. Now with the release of Stormtalon some of my worries have dispatched. The new flyer is a must for a Red Talon army.

Currently I have the model in pieces, but I managed to convert a Tech Marine for the flyer. I wanted to make it more bulky, but including a proper Tech Marine would have been overkill as the model doesn't shot that much from the cockpit. So I tried to replicate the armour style on the pilot to make it more "techy" and bulky. I will paint the figure before adding hands and such, as I want to get the whole model painted properly.

Here's some WIP pictures about the pilot:


The next step is to add some wiring to the lower parts of the armour using thin brass wire and some guitar wire. The wires will attach the the chair and the console behind. I'm looking for a hard-wired look on the model. I saw amazing pictures in Photobucket by Brother Beork about amazing bionic conversions. I will borrow some of the techniques to this model.

I also managed to get my hands on the Necron Praetorians for spare bionic parts. I'm trying a conversion to my Assault Marine Sergeant where the breastplate is replaced by one from Lychguard where I will remove the Necron symbol and the shoulder guards. Let's see what cool conversions I come up with the Necron bits. Some of the parts will end up to the pilot also, but I need to have a session with clippers and glue to make up my mind about what's gonna be done.

The overall feeling with the Stormtalon will be more aquila-like. I will attach Chaos Defiler claws to the bottom of the model and extend the wings with some bionic feathers. This will take some time and engineering to get it right, but I will attach pictures also when I get doing that.

Here's some sneak preview about the base coated models I have under progress:


More will follow... ;) And as I was scrolling through the 6th edition rules, I made a decision to include a Reclusiarch as an Assault Chaplain. This allows me to include the Stormraven also. ;) Great!

- Peksi


Thursday 5 July 2012

500 points of Red Talons

This is a somewhat default list on which I start to build my army. This is supposed to be fluffy and not a hard core list. The main themes I try to bring emphasize are:

  • Aerial Mobility. The Red Talons are a planetary invasion force that strike hard with Thunderhawks, Stormravens and Stormtalons. The current codex doesn't support the use of flyers, but WD special rules are to be taken in use where possible. Drop Pods will come to picture eventually.
  • Ground Mobility. All Red Talon troops should have a transport to deliver the punch. Combat squads will be divided into firebase and vanguard, so Razorbacks will deliver half of the squad to the fray. Also jump-packs are used where possible as they are handy when deepstriking behind the enemy lines.
  • Tech-orientation. The army is tooled up with servo-arms, ancient technology, rare weapons, and such. Most of these come as conversions that have no in-game effect.Where possible I will add Techmarines to boost the feel. Also the army will stock itself with melta and plasma weapons.
  • High Strenght. This comes in form of favoring high strength weapons. Lascannons are more common that Heavy Bolters, Plasmacannon trumps Missile launcher, Power fists go before Power weapons, etc. All this because they might have to breach bunkers, bastions and such.
The list is quite simple 500 points list.

The list

HQ

Captain with Relic blade and Artificier Armour. - 145 points
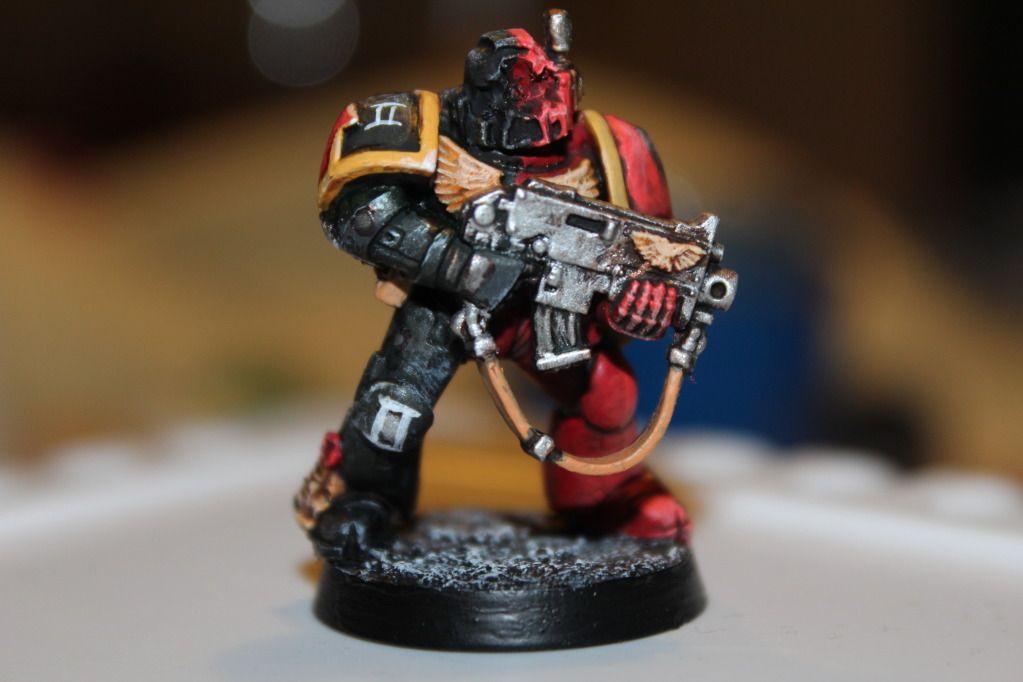
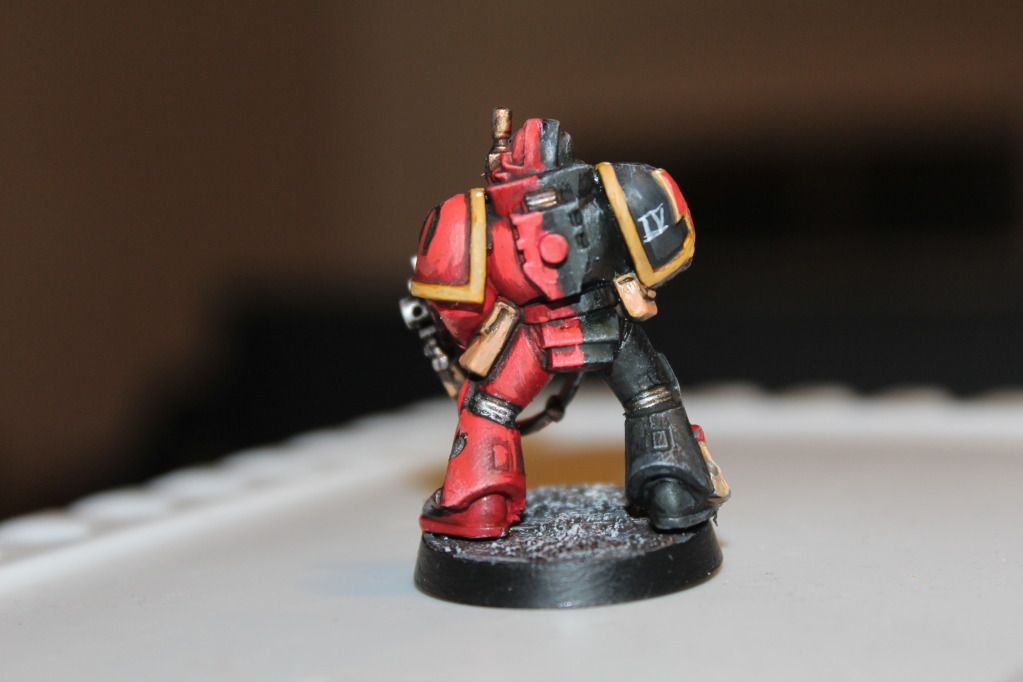
Executioner Osiron, Captain of the 2nd Company of Red Talons. 
A bulky warrior with arcane power armour. Menacing and silent. Never really got used to the moving without jump-pack. Was the Iron-Brother Sergeant of 7th Veteran Squad of 2nd Company. Has a long kill list including the Tyranid Broodlord and a full Necron Lychguard.

Troops

10-man Tactical Squad with Plasmacannon, meltagun. Sergeant with Chainsword and Storm bolter. Carried in Razorback Stronos with Dozerblade. - 270 points
"Red Tyrants", 3rd Tactical Squad of the 2nd Company of Red Talons. Long history of fighting against Tyranids. Most notable conflict was the Deliverance Incident on M28.

Led by Iron-Brother Lurcas. A tough warrior with scars to prove it. Has been able to dodge some bullets during Deliverance war. Carries a Storm bolter and a servo-engined plasmacutter/chainsword. Also bears the squad banner. Is a Deliverance veteran with over 100 confirmed kills. Has been in the 3rd squad since initiation. Has fought beside Osiron for long time.

Rides in Razorback Stronos "Deliverance Hammer". A custom armoured vehicle with countless campaigns. Has been in the force since M35.

5-man Scout Squad. Sergeant with Combi-flamer. - 85 points
"Brood Maimer"1st Scout Squad of the 10th Company of Red Talons. The whole squad was terribly maimed. The 1st squad gathers the most bionical scouts in the Red Talons army to form a tough fighting squad.

Squad is lead by a seasoned veteran Iron-brother Pherra. He was an Assault marine sergeant in 8th Company but was promoted to lead the 1st squad of recruits during the Deliverance Incident.

Tactics


The deployment tactics is to leave divide the Tactical squad into combat squads, and leave the Plasmacannon and 4 troopers to an elevated ground. The other part will sit in the Razorback with the Captain and drive to the enemy's side. The Scouts will deploy in cover and pick whatever valuable target there is.

The Plasmacannon will deal with large formations of lighter armoured troops. They will try to choose a position with as large a firing arc as possible. They might also position so that they can shoot at an objective which they will run to claim in the end.

The armoured squad will drive to the enemy's side and starts blasting away with their Plasmaguns. The Lascannon will try to choose targets that are high armoured or valuable to the enemy. The squad will try to assault as soon as possible. This might be that the attack is to the enemy HQ unit or the hardest unit there is. Meltagun should soften the unit before the assault. Against hordes the unit will stand back and shoot as long as they can. The Razorback will provide mobile fire support.

The scouts will try to stay in cover and eventually grab objectives. They will aid the armoured squad with their tasks by softening the enemy.


Wednesday 4 July 2012

Test figure for the paint scheme for Red Talons

This is a picture post about a test figure from my new Red Talons army. I also am using the new Citadel paints for this so I will explain what colours I used to get the results.


Laying the foundation on the model


Base coated

The base will get more features on the actual models

The Red Talon markings will be more detailed and precise

I had an Assault On The Black Reach figure lying around (waiting to become a Plague marine with gouged eyes). He was suitable for my agenda. First I spayed the figure black. I then used the Base colours to formulate a foundation to my later paintings. 
  • The Mephiston Red was used for all the red areas, the left side of the armour. Also the purity seal and the tactical squad arrow was painted with this. 
  • Abaddon Black was then applied over the black areas and the rim of the base. 
  • Averland Sunset was used to represent the 2nd company colour, which will be what my army is based on. Also the Imperial Aquila on the gun was painted with Averland Sunset
  • I used Warplock Bronze on all the metal areas including the tubing and helmet antenna.
  • The Imperial Aquila was painted with Zandri Dust along with the scroll of the purity seal
  • The ground was painted with Astrogranite texture paint. I won't be using this that much on my actual models as I have the sand already glued to the bases. They also have this complex ruins on them (which I don't have a picture) that was painted like the metal parts.
  • The eyes of the marines will be painted Caliban Green at this point also.
  • The leather strap on the gun and the holsters were painted with Rhinox Hide
All of this was then washed with a Reikland Fleshshade to get the recesses looking good.

Fayering


After that I grabbed cans of Layer paints and started working. First I did a layer with a darker shade, washed it with a chosen Wash, and finally applied the second layer.


After a Wash and the first Layer

The model starts taking shape (or shade)

After the second layer
More of the good stuff

I ain't no 'Eavymetal painter. And this was my first figure for over a year. That said, I'd say the 2nd layer was beginning to show that by having good quality paints, a painting plan for each area, and good brushes can get you a long way. Here's what colours I used on the layers:
  • The red armour (and the purity seal) was first painted using a 1:1 mix of Mephiston Red and Wild Rider Red. I would have used the Evil Sunz Scarlett, but the shop was out of it, so I improvised. This will however be changed with the actual models.
    • I then washed the red areas with Seraphim Sepia.
      • Then I Added thin coat of Wild Rider Red to smooth areas and highlighted the raised areas a bit.
  • The black armour was painted using Eshin Grey. I tried to use as thin coats as possible as I needed the armour to be black. This did not play exactly as I planned it but it resulted in more worn out look for the model, which was nice.
    • I then applied a coat of Nuln Oil followed by a coat of Althonian Camoshade. I wanted to use a greenish wash to make it contrast a bit more to the red side. Also this should have been to create a bit oxidized look to the armour. It might be showing in the closeups, but it was a bit too subtle effect.
  • The metal was painted with Sycorax Bronze again to bring out the ancient feel on the gun. These guys have been around from the 33rd Millennium, so some of their equipment is quite old. ;)
    • A coat of Nuln Oil was applied. Some areas were too thickly covered so the colour was lost. I need to make it thinner with the others.
      • A final coat of Runefang Steel was painted used to highlight the raised areas. I intentionally left some parts untouched by the the brighter metal paint to keep with the ancient feel.
  • The Imperial Aquila and the Purity seal scroll received a coat of Bestigor Flesh over raised areas, but I wasn't too tidy with my paint as it was getting another wash and layer.
    • A wash of Seraphim Sepia was applied.
      • Finally a layer of Ungor Flesh was used to highlight the feathers of the Aquila and the edges of the scroll.
  • The rims of the shoulder badges and the Aquila on the gun were painted 1:1 Yriel Yellow and Bestigor Flesh. This provided a bit murky yellow shade to the rims.
    • The yellow not washed as I thought that by washing the armour around it would suffice.
      • Final layer was 2:1 White Scar and Yriel Yellow. I applied this only to the most prominent areas and to where I thought the sun would hit if using zenithal lighting.
      • The Aquila on the gun was highlighted with Ungor Flesh. The future models will follow the paint scheme of the large aquila. 
  • The leather strap and bags were layered using 3:1 Rhinox Hide and Bestigor Flesh. 
    • This was still a bit too bright to I applied a liberate coat of Seraphim Sepia to the strap to make it darker.
      • The last layer was a thin coat of Bestigor Flesh. This was dulled down with yet another coat of Seraphim Sepia.
  • The base was washed with Nuln Oil and Althonian Camoshade. No layers were used on this as the colour was getting quite good. The browns on the Althonian Camoshade gave it an earthy look.
  • I would have used  Warpstone Glow for the eyes, but since having none I tried it on another model which I don't have pictures. 
    • this was then washed with Althonian Camoshade.
      • Final highlight was given with a Moot Green layer.

Highlights, details and drybrush

After I got all the layers to look the way I wanted, I started to do some finishing touches. The model was already suitable for playing, but squad markings, battle damage and whatnot needed to be done. I might leave the rank-and-file troops at this stage put add the squad markings depending on my pace. I will however paint the sergeants and the characters with more details. This next will demonstrate how I did that on this test figure.

Squad markings and some battle damage
The squad number is presented on the knee pad also


The model was missing a backpack so it was quicker to paint
The highlighting was done to leathery parts as they did not have a texture to be highlighted. I also wanted them to be quite flat on colour as they were organic (or at least were). Some battle damage was done to the front side of the armour (these guys don't turn their backs on the enemy) and details were added to the shoulder plate. Also the armour and the metal parts received a drybrush.

  • The red areas was drybrushed with Kindleflame. I thought it would end up pink, but it subtly highlights the most prominent areas making it almost shiny.
  • The black areas got a bit too hard drybruding with Longbeard grey. I think I should have used the Terminatus Stone, but it looks pretty good to me with such striking highlights.
  • The Aquilas got a drybrush of Eldar Flesh. The paint was thick enough (I love these new drybrush paints!) so that the paint stuck only to the highest areas. I really like how it displays on the model.
  • The metal parts got a strong drybrush of Necron Compound. This made the weapons and the tubing look really good.
  • The white details were painted using watered down White Scar
  • The battle damage was done using the same technique as with layering the gun. This made the flakes more subtle. I think I need to make them smaller on the real models.
  • The script on the purity seal was done using watered down Abaddon Black.
  • The base was highlighted using the Longbeard Grey. It turned out fine but I will be adding Burnt Grass  to the base. This should give the appearance of a mechanized Forge world from where the Red Talons hail.
  • The leather was highlighted using Ungor Flesh, but the highlights were really subtle.

The Red Talon 2nd company


So basically that's it. I will update my progress with the painting and be posting pictures here about the finalized figures. This is what I have converted so far:
  • 2 Characters
    • Power armoured captain with an artificer armour and a Relic Blade
    • Vulcan He'Stan conversion. I'm not satisfied with this, so I'll do some work on it later
  • 10 man tactical squad
    • Sergeant with a scratch built servo arm
    • 9 converted marines with bionics and stuff
  • 5 man scout squad
    • All heavily converted from servitors
  • Razorback Stronos
    • Scratchbuilt extra-armour plating
    • Lengthened barrel on the Lascannon
    • Scratch build dozer blade
So I'll be starting with the tactical squad and the scouts. Let's see when I have something to post here.